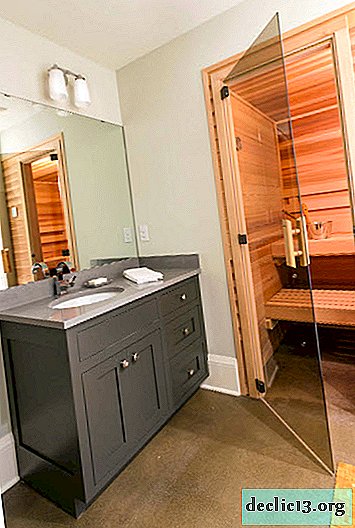
Finishing a bath or sauna in a private house
It is difficult to overestimate the benefits of regular and competent visits to the bath or sauna. Having the opportunity to take a steam bath within one's own home is an invaluable opportunity. If you are planning to build, or are already the proud owner of a bath or sauna, then our impressive selection with hundreds of design projects for creating decoration in a steam room may come in handy.

The choice of material for finishing the bath or sauna
If we talk about the most common set of rooms inside a bath or sauna, then usually this list is small:
- hallway and dressing room;
- restroom;
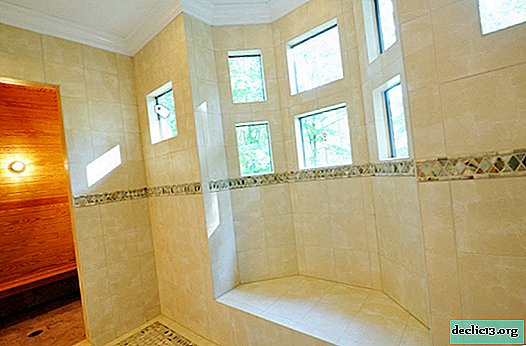
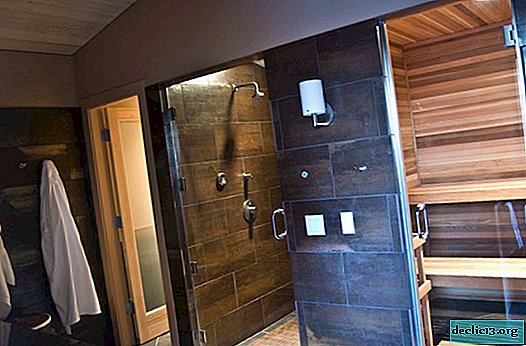
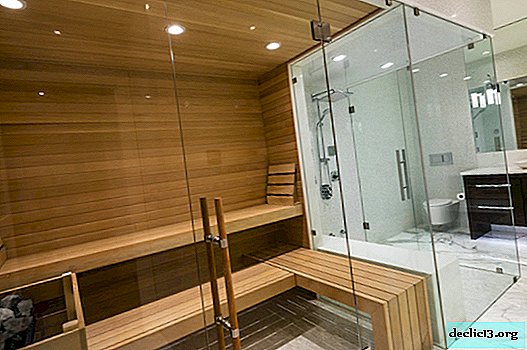
- shower room and / or room with a pool;
- steam room.


Of course, some rooms may be absent or constitute a multifunctional space. For example, one room can combine a locker room, a relaxation area and a segment with a shower. The more rooms in the bathhouse, the more options and methods for creating decoration can be used to create the most suitable design for the microclimate. It is important at the same time to create not just reliable protection for surfaces, but also a special atmosphere of rest and relaxation, which is one of the reasons for going to the bathhouse or sauna. So, a bathhouse can have several rooms or just one space, but what remains unchanged is that without a steam room this space loses all meaning. This publication will be dedicated to the design of this difficult, but very important room.


Given the special microclimate that reigns in the steam room, the main step in creating a finish can be considered the choice of the right material. The facing material should have the following qualities:
- resistance to temperature changes and hot air;
- resistance to high humidity;
- hygiene;
- strength and durability;
- lack of toxic substances released at high temperatures;
- resistance to the formation and spread of fungus;
- excellent esthetic qualities;
- nice texture.


As a rule, lining is used to finish the surfaces inside the steam room. As a raw material for this safe and aesthetically attractive material, it is best to choose:
- cedar;
- Linden;
- larch.


For cladding the surfaces of the dressing room (the room preceding the steam room), you can use a pine lining. By combining wood of various shades, you can create some variety in the decoration of the bath or sauna.


Creating a floor in a steam room
The first step in creating finishes for the steam room and dressing room is the design of flooring. For a steam room, it is best to raise the floor level somewhat - this measure will help to keep warm in a small room (protection against drafts). The flooring can be made of the following materials:
- ceramic (porcelain tile) tile;
- shaped board;
- grooved board.


Even in steam rooms, designed for a very high temperature on the surface of the floors, it does not rise above 30-35 degrees. Therefore, the rough floor layer can be made of:
- concrete;
- clay;
- land.


The main task of the correct flooring is to ensure safety and quick moisture removal from the steam room (floors are made with a slight slope for quick liquid removal). Therefore, the rough level of the flooring must be covered:
- cork;
- fibrous mat;
- tiled flooring;
- plank flooring;
- polished board.


If you choose the method of arranging the flooring with wood, then this will not be difficult: first, brick columns are laid on the draft level, on which the logs will be placed, and already prepared boards are mounted on them.


Considering that the floor in the steam room does not experience serious loads, the size of the lag can be selected from 20x20 to 25x25 cm in increments close to meta. For flooring in a bath or sauna, it is better to use a shaped, grooved board. It is better to choose boards with a thickness of 30 cm. Absolutely all the material for creating a finish in the bath or sauna must be treated with an antiseptic composition before installation to prevent the formation and spread of the fungus.


If ceramic tile is used as the top layer of the flooring, the sequence of actions will be as follows:
- creating floor screed, it is necessary to achieve a perfectly flat surface;
- laying floor tiles with special glue;
- treatment of joints with moisture resistant grout.


Ceramic tiles on the floor of the steam room are an excellent opportunity to protect the surface from high humidity and temperature extremes, as well as create a durable and easy to clean coating. But from the point of view of the danger of sliding on the surface, tile is not the best option for a steam room. Therefore, on the porcelain stoneware, usually low panels or wooden lattices are laid, which, after each visit to the steam room, must be taken out to fresh air for drying.


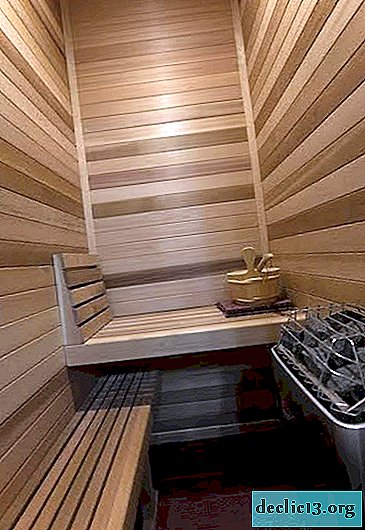
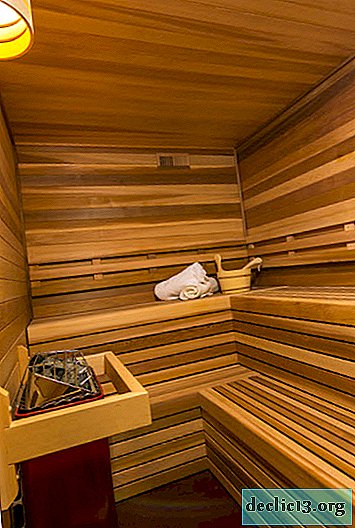
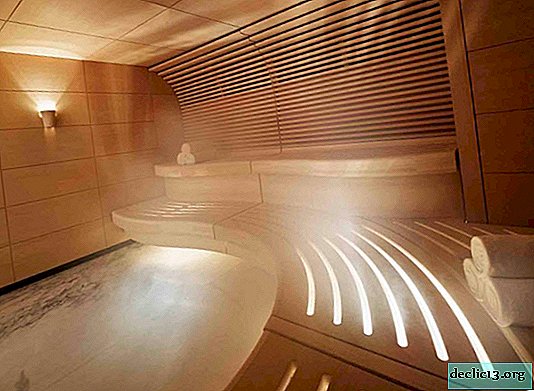
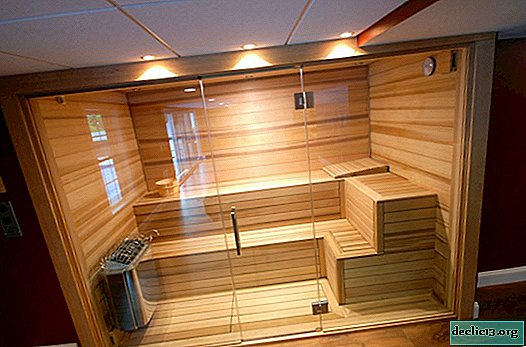
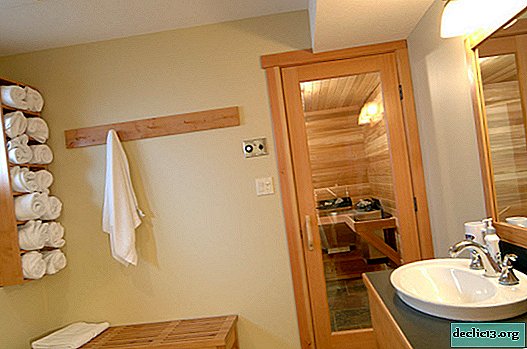
Wall decoration in the steam room with a wooden lining
Not without reason, the lining is the most popular material for covering surfaces in steam rooms. With its help, you can not only create a reliable and durable steam room design, but also insulate the room. The lining has many advantages:
- environmental friendliness (the material does not emit toxic substances even at very high temperatures);
- excellent ventilation for all other building and finishing materials;
- high aesthetic qualities;
- with the help of such cladding, you can hide the architectural imperfections of the room;
- condensation does not form on the surface, which means that there is no predisposition to the formation and spread of the fungus;
- lining from the lining is able to "breathe";
- sanded surfaces are pleasant to touch.


Crate Creation
The optimal combination of price and quality has linden lining. This is the most popular material for decorating a steam room and dressing room in Russian baths and saunas. The algorithm for creating the lining of the lining is simple. The preparatory phase includes the following steps:
- first you need to adapt the material to the microclimate of the steam room, for this the lining is brought into the room;
- if the walls of the steam room have differences, then they must be leveled with the help of rails;
- joints and crevices must be caulked;
- the installation of the casing begins with the fastening of the battens from the rails in steps of about 50 cm from each other;
- in order to evenly install the crate, it is necessary to attach a thread to the most extreme bars, which will be a reference point for other products;
- after the preparation of the frame, it is covered with an antiseptic
- if the walls are perfectly smooth, then you can do without crates and fix the finishing material directly to the wall.


Wall insulation and waterproofing
In parallel with the creation of finishes for the surfaces of the bath or sauna, the issue of warming the room is also being solved. In some cases, it makes sense to use mineral insulation, which is placed under the crate of wooden battens. But it all depends on the material of creating the load-bearing walls in the building. If the structure is made of concrete blocks or stone, it is better to do without insulation, otherwise you will subsequently have to solve the problem of poor-quality and insufficient ventilation.


The second issue, which is solved in conjunction with the implementation of surface finishing, is the creation of waterproofing of the room, because we need to protect all the supporting structures of the building. Previously, the most popular material for waterproofing was aluminum foil, these days it has been replaced by a modern analogue - vapor barrier film.


Lining installation
After completing all the preparatory processes, you can proceed to the direct cladding of the walls and ceiling of the steam room. It is necessary to choose fasteners that can withstand high humidity and temperature extremes. Conventional nails will not work - they may rust from moisture and become hot under the influence of high temperature - touching a wall with hot heads of nails can cause burns.


The lining can be mounted both vertically and horizontally - it all depends on the size of the room, the height of the ceiling. The elements of the lining are cut in advance to the required length and then attached to the prepared crate (or directly to the wall, in case it has a perfectly flat surface). It is necessary that the lining fit snugly in the corner joints. Also, it is necessary to use the building level to create a not just reliable, but also aesthetic decoration of the steam room.


Laying of the lining starts from the corner. Brackets and clamps are used as fasteners. To finish the ceiling, you can use the same material as for wall cladding. But it is important to understand that under the ceiling there will be the highest temperature in the room, it is necessary to use a lining made of wood species containing the least amount of resins (drops when dropped can leave a burn on the body). Cladding surfaces near the furnace, as a rule, is made of refractory bricks or ceramic tiles.


In custody
All wood elements intended for use in the steam room (benches, benches, stools, coasters, holders) must be properly processed. Careful grinding and waxing will help to reduce the swelling of wood from hot and wet steam, the appearance and spread of microorganisms on the surface of furniture and decorative elements.


Watch the video: Steam Room Build PART 12 - Sauna House Build #12 (December 2024).


-
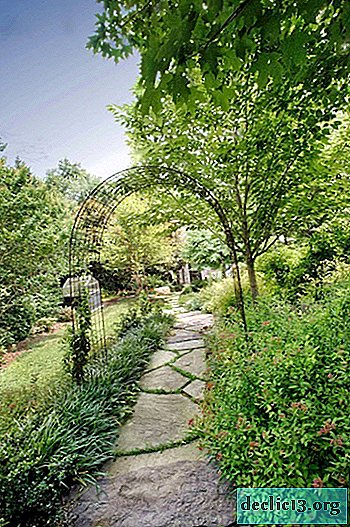
Natural beauty in the landscape design of one country house
We suggest that you familiarize yourself with the arrangement of the adjacent territory of one private apartment located outside the city. A large, spacious house has no less impressive territory, the design of which is as important as the organization of the interior inside the home. It is easiest to reflect the love of country life, nature and fresh air without fighting this very nature, but obeying its features, making only minor adjustments. ... -

-

-