Plasterboard Ceiling
Plasterboard ceiling covering is one of the most modern finishing methods. The ceiling made of drywall is perfectly flat and easily finished. You can familiarize with types of drywall here.
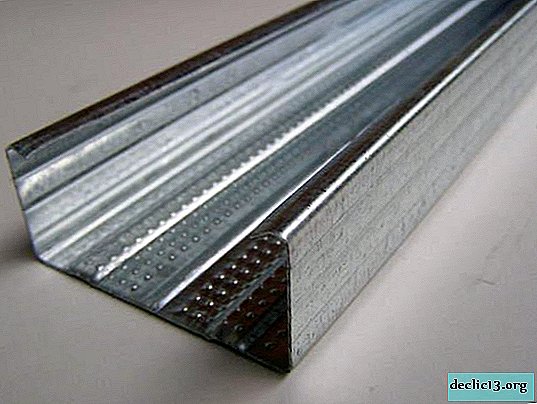
In order for the ceiling to be smooth and last for many years, you need to make a smooth and durable frame. To make the frame, you will need a special metal profile. First of all, it is necessary to draw a straight line around the entire perimeter along it on the dowel nails will be attached UD profile. In order for the line to be smooth, you need to beat off the perimeter of the mark using a level. Then using a long rule or cord, draw a line around the perimeter.
The next step is the marking of the ceiling under the guides. The main rails are fastened 60 cm apart. The guides are attached to the ceiling by direct suspensions, which are attached to the ceiling by a dowel nails. If the main profile is not enough, then it can be increased using a special connecting profile for the CD profile. The direct suspension is attached after 1 meter. Cross guides are attached every 60 cm. A special crab suspension is used to connect them to the main guides. Short lateral guides, for rigidity of a framework it is necessary to fix to a ceiling on one direct suspension. For better alignment, use a thread, pulling it from wall to wall every meter. The thread is attached to the cuts themselves on the UD profile. This method of mounting the frame makes it possible to obtain a strong and even ceiling.
Consider the materials for the frame


- For the installation of drywall plates on the frame using a screwdriver
- The next stage is the decoration of the ceiling for painting. The entire ceiling must be primed. It is best to use an acrylic primer.
- When the primer dries with a starting putty, the seams and screws are closed.
- After the joints sealed with putty have dried, they are glued with a sickle.
- Then the seams must be puttied, so that one plane with the ceiling is obtained, the seams must dry.
- A spider line is glued to the entire ceiling with a launch of 5 cm on the walls. You can glue the spider web on the glue for the glass.
- After the cobweb has completely dried, the ceiling is putty. The ceiling is primed at least twice for painting. The first time with a starting putty, then after drying the first layer should be lightly cleaned with sandpaper and cleaned of dust with a vacuum cleaner. The second layer is applied with finishing putty.
- When the putty is completely dry, the ceiling is cleaned. Before painting, the ceiling must be primed. Paint on the ceiling is applied in two layers. That's all the plasterboard ceiling is finished.


